Introduction to Arduino
Let’s start by understanding what Arduino is and what it can do for you as a beginner in electronics.
Installing the Arduino IDE
Before you can start programming Arduino, you need to install the Arduino IDE — the official development environment.
Blink: Your First Arduino Project
Let's build your first real Arduino project — make an LED blink!
Understanding Arduino Code Structure
Learn how Arduino code is structured and how setup() and loop() work together.
Working with Digital Output
Learn how to control components like LEDs, buzzers, and relays using digital pins.
Working with Digital Input
Learn how to use buttons and switches with Arduino and respond to user input.
Working with Analog Input
Learn how to read variable values from sensors using analog pins.
Working with Analog Output (PWM)
Use analogWrite() to control brightness, speed, and more with Pulse Width Modulation.
Final Assessment & Certificate
Take this final quiz to test your knowledge. Score 71% or more to earn your certificate!
This feature has been disabled by the administrator

About Lesson
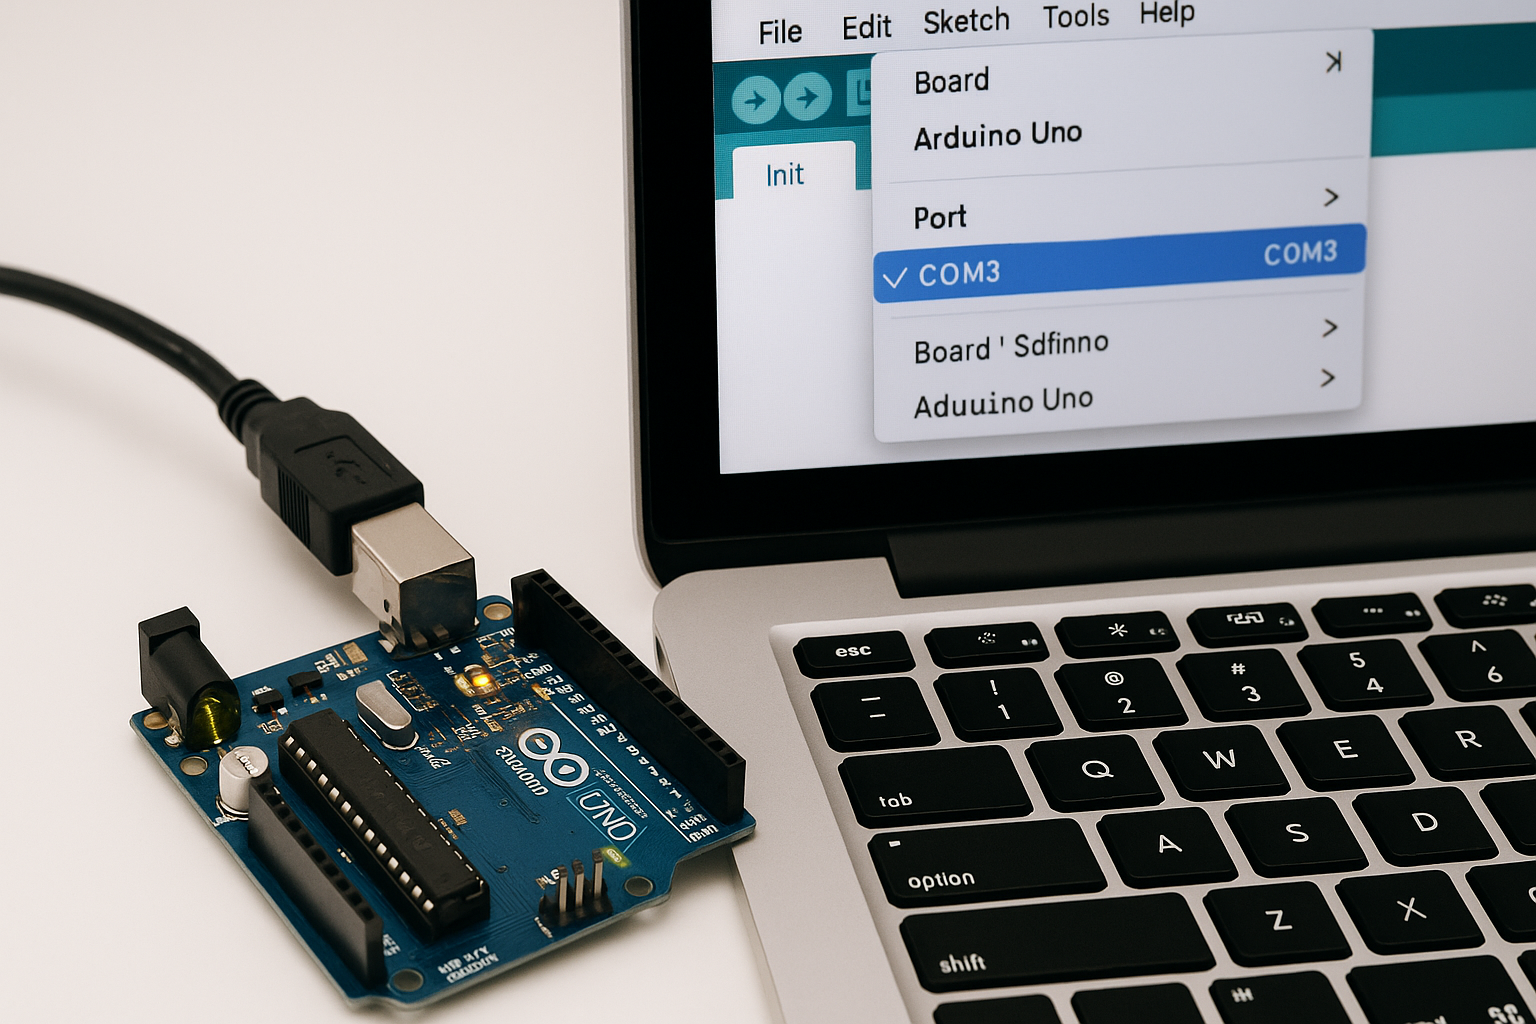
Once the Arduino IDE is installed, it’s time to connect your board and get ready to upload your first sketch.
🔌 Step 1: Connect your Arduino board to your computer via USB
⚙️ Step 2: Open Arduino IDE and go to:
• Tools > Board > Select “Arduino Uno” (or your board type)
• Tools > Port > Select the correct COM port (e.g., COM3)
✅ Step 3: Click “Verify” to compile a sample sketch, then click “Upload” to send it to the board
Your board is now connected and ready!
Or if you don’t have real Arduino plate, you can use free online simulator like https://wokwi.com/ or other.


