
Introduction to Arduino
Let’s start by understanding what Arduino is and what it can do for you as a beginner in electronics.
Installing the Arduino IDE
Before you can start programming Arduino, you need to install the Arduino IDE — the official development environment.
Blink: Your First Arduino Project
Let's build your first real Arduino project — make an LED blink!
Understanding Arduino Code Structure
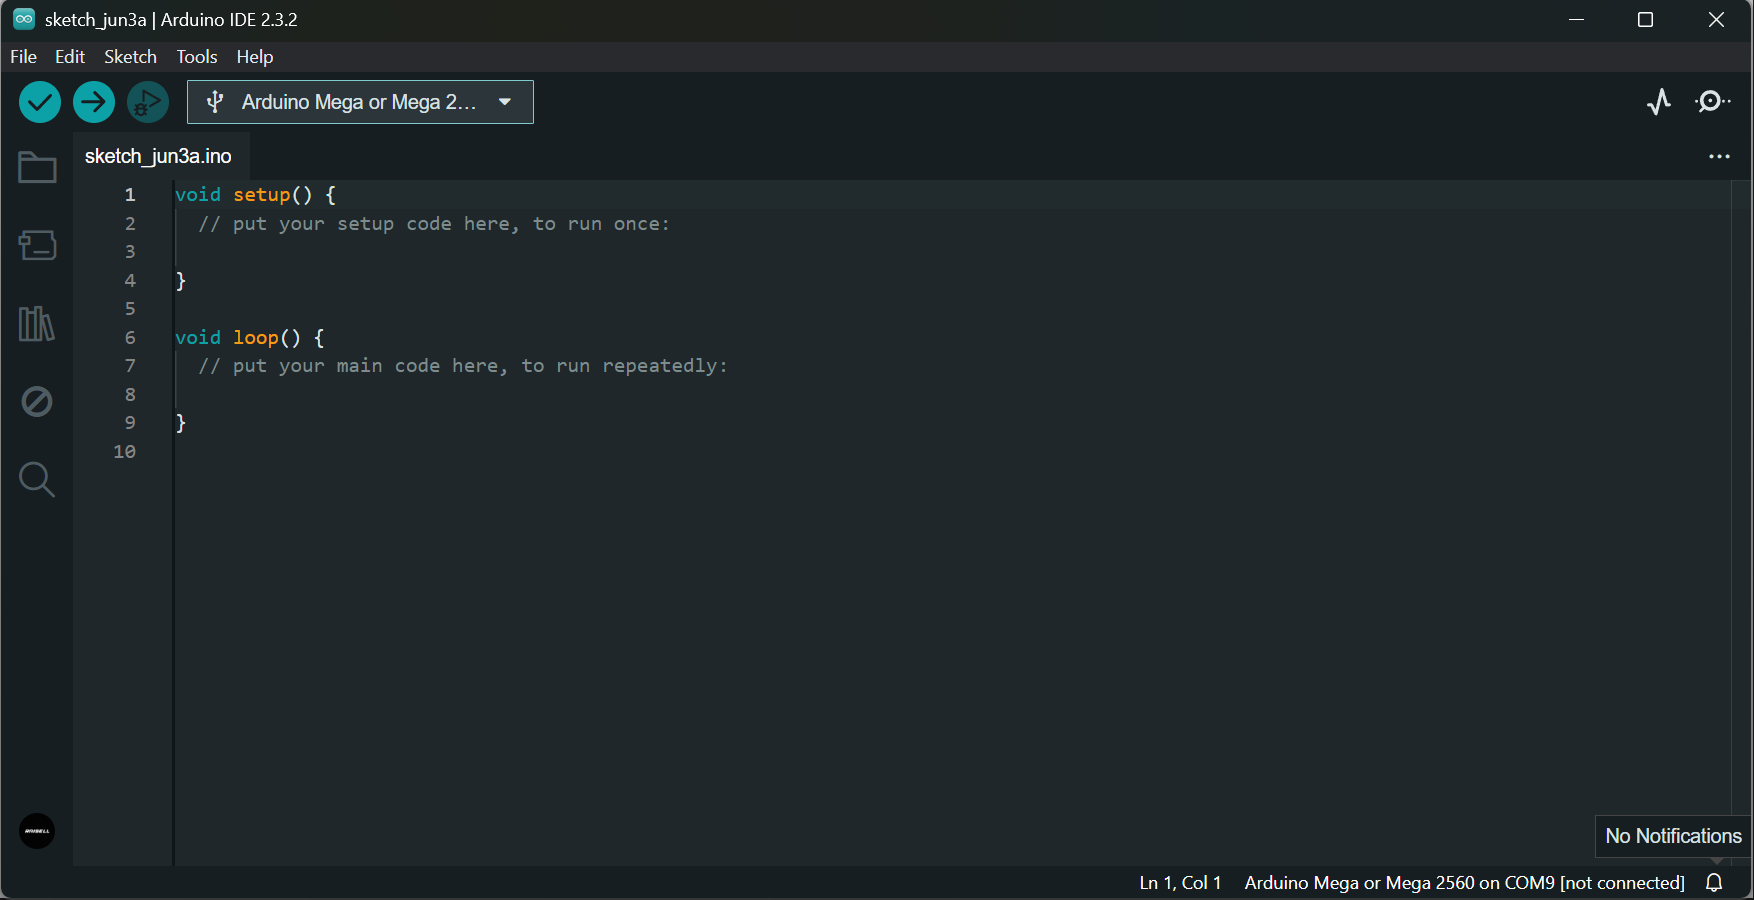
Learn how Arduino code is structured and how setup() and loop() work together.
Working with Digital Output
Learn how to control components like LEDs, buzzers, and relays using digital pins.
Working with Digital Input
Learn how to use buttons and switches with Arduino and respond to user input.
Working with Analog Input
Learn how to read variable values from sensors using analog pins.
Working with Analog Output (PWM)
Use analogWrite() to control brightness, speed, and more with Pulse Width Modulation.
Final Assessment & Certificate
Take this final quiz to test your knowledge. Score 71% or more to earn your certificate!
This feature has been disabled by the administrator
About Lesson
Every Arduino sketch (program) has at least two main parts: `setup()` and `loop()`.
🔹 `setup()`
This function runs **only once**, when the board is powered on or reset.
You use it to:
– Set pin modes (input/output)
– Initialize communication (like Serial)
– Set up sensors or libraries
void setup() {
pinMode(2, OUTPUT);
}
🔹 loop()
This function runs over and over, in an infinite loop.
You put your main logic here — things that should happen continuously.
void loop() {

  digitalWrite(2, HIGH);

  delay(500);

  digitalWrite(2, LOW);

  delay(500);

}
Together, setup() and loop() form the basic structure of every Arduino program.
✅ Pro tip: Never remove them — even if you’re not using them fully, they must be present.
